
Your Friendly Neighborhood Dough Dealer
PIZZA
STARTS
HERE.
Handmade artisan dough + homemade sauce. From our kitchen to your oven.
Your Friendly Neighborhood Dough Dealer
Handmade artisan dough + homemade sauce. From our kitchen to your oven.
What's In The Box?
$4 per pizza. Yeah, you read that right. Dough + sauce included.
🧊 MADE FRESH WEEKLY. FROZEN FOR FRESHNESS. READY WHEN YOU ARE.
.jpg)
"Pizza for two (or one hungry you)"
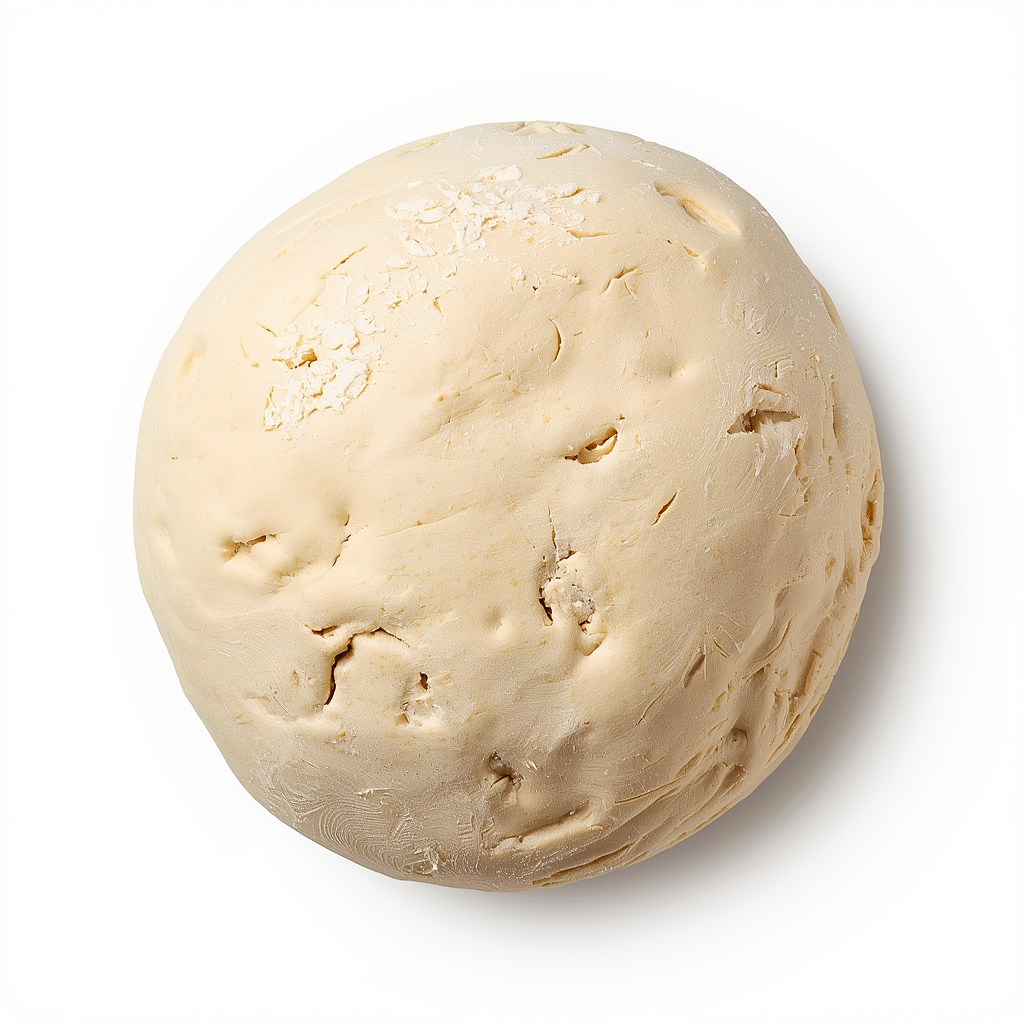
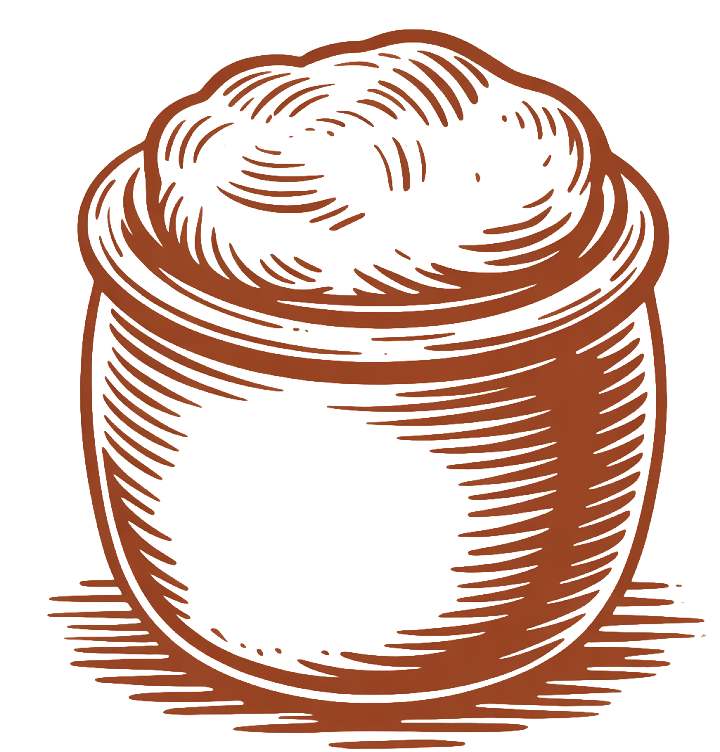
🍕 3 Dough Ballz (16oz each)
🍅 9oz Fresh Sauce
Makes 3 pizzas
.jpg)
"Everyone gets a slice"
🍕 8 Dough Ballz (16oz each)
🍅 24oz Fresh Sauce
Makes 8 pizzas
.jpg)
"You're set for a while"
🍕 12 Dough Ballz (16oz each)
🍅 36oz Fresh Sauce
Makes 12 pizzas
FREE PICKUP
Tierrasanta 92124
Come Say Hi!
LOCAL DELIVERY
San Diego Proper
$10 Flat
SHIPS NATIONWIDE
Anywhere in the USA
$25 Flat
Order 3 or 30 — same flat delivery/shipping fee. Load up the box! 📦
Ready to order? Click here to purchase
Need more than 12? We can ship up to 30 balls at a time. Just ask!
New to Pizza Making?
The Story

BIRKY
The Dough Dealer
I've been in San Diego for 25 years, but I grew up in Verona, NJ — where pizza is a religion.
For years my kitchen looked like a flour bomb went off. After hundreds of pizzas and countless failed experiments, we finally cracked it.
We settled on a dough that was easy to use and let us quickly turn out amazing pizzas at any point during the week. No more planning ahead. No more stress. Just great pizza, whenever you want it.
My daughter Brighton is the secret ingredient — a sophomore learning to build a business from scratch. She runs our marketing and is our brutally honest taste tester.
Pizza never lets anyone down. 🍕

BRIGHTON
The Secret Ingredient
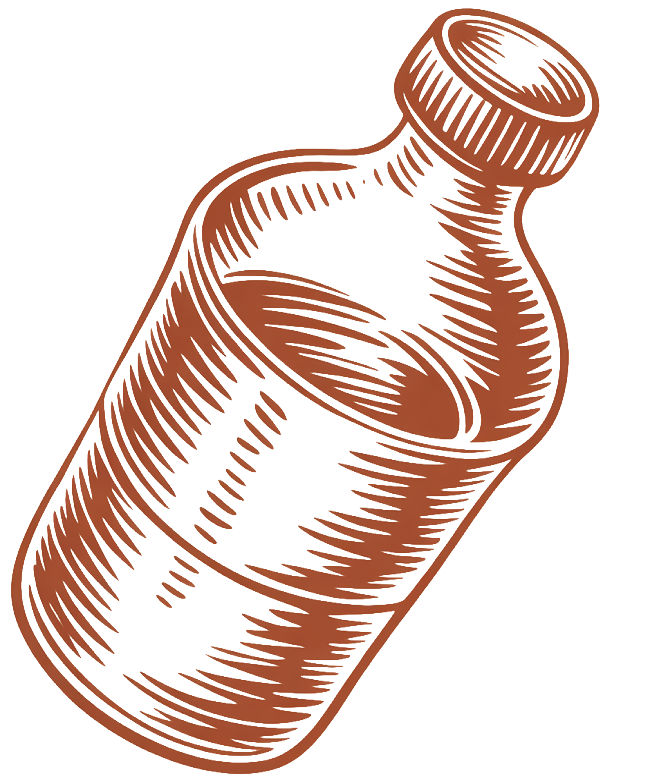
FILTERED WATER
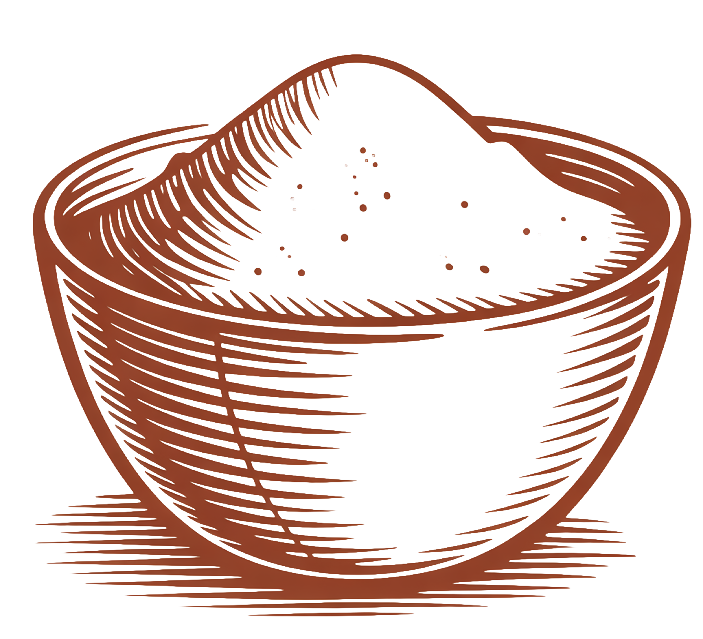
PREMIUM FLOUR
SEA SALT
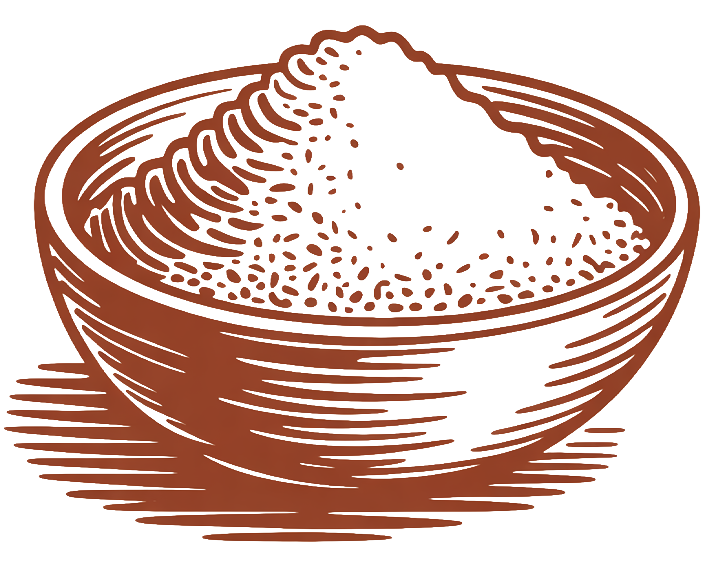
100YR STARTER
Stop settling for delivery. Make restaurant-quality pizza at home.
Watch Us on YouTube.jpg)
.jpg)